
MULE CROSSING: Maintenance & Grooming
By Meredith Hodges
 Your equine depends upon you for his safety and well-being. The best feed in the world won’t keep him in good health if you neglect other important areas such as vaccinations and worming. It’s up to you to create a program to prevent disease and control parasites. Here are some suggestions for a general health program:
1) Cleanliness is very important. Make sure feed boxes are clean and manure is removed from stalls and paddocks. Do not feed hay or grain on the floor or anywhere it may become contaminated with manure. Similarly, small, heavily used pastures tend to build up a heavy parasite load. Pastures should be rotated and harrowed as frequently as possible to break the life cycle of the parasites.
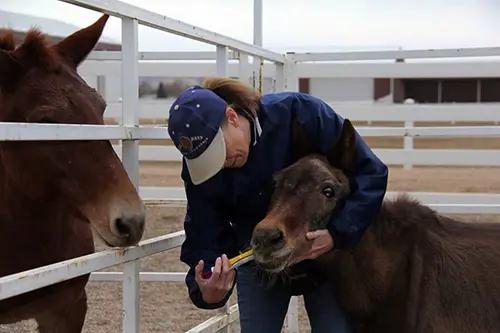 2) Internal parasites are the most common danger to the health and well-being of your mule, and you must be prepared to wage a constant battle to control these worms. Follow your vet’s advice to set up a parasite-prevention and control program through regular worming. The drugs that are available today are very effective in removing parasites and breaking the cycle of re-infection. At Lucky Three Ranch, we worm every eight weeks in January, March, May, July and September with Ivermectin and then break the cycle and worm with Strongid in November. Don’t forget to watch out for bot eggs and remove them immediately.
3) Avoid letting your equine drink from public watering facilities. Use your own clean water buckets. Keep an eye out for anything that might injure your equine, and remove or repair it.
Proper treatment of diseases and injuries depends on two very important factors: correct diagnosis and knowledge of the proper treatment. Your job is to become familiar with equine diseases and their symptoms. In case of sickness or injury, know what to do for your animal before help arrives. Understand what simple treatments and remedies are safe to follow. Above all, know when to call a veterinarian.
4) There are many resources available to help you learn how to be better prepared including books, clinics and, especially, advice from an expert such as your own veterinarian or farrier.
Assemble your own equine first aid kit and, with the help of your veterinarian, learn the proper use of each item in the kit. Be prepared to handle the situation before the vet arrives.
When signs of infectious disease appear, isolate infected animals promptly and call your veterinarian right away.
5) Seek your vet’s recommendations for shots and immunizations, and faithfully follow an annual vaccination program. Make sure you keep good records of vaccinations and worming, and be sure to keep track of when they’re next due.
6) One of the best ways to monitor your equine’s health is by establishing a daily grooming routine. Not only will he be rewarded with a shiny coat, but you can watch for cuts and bruises and check the condition of the feet.
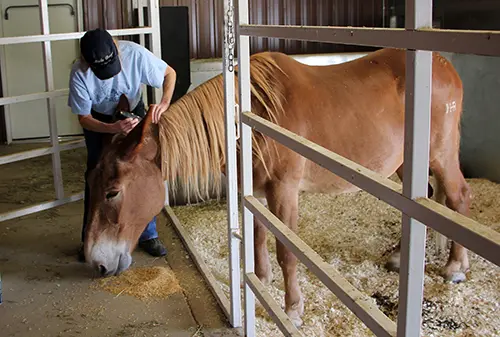 Basic grooming tools include a rubber currycomb to rough up the hair and bring dirt to the surface, a dandy brush to lift out the dirt, a body brush to smooth and shine, a hoof pick to clean the feet and a mane and tail comb and brush. A sweat scraper is handy to remove excess water during and after a bath, or sweat after a workout. A grooming cloth can be used to polish the coat and bring out the shine. In the springtime, a plastic multi-bristled hairbrush and shedding blade are also nice tools to have on-hand to remove dead hair, and a sponge can be used to clean muddy legs.
Begin your routine by using a hoof pick to clean the feet. Start with the near front foot, move to the near hind, then the off fore and off hind. If your young mule is skittish, work in whatever order he is comfortable. As he becomes accustomed to having his feet cleaned, you can do them in a consistent order. Clean from heel to toe and watch for infections like thrush and injuries from rocks or nails. This is also a good time to check his shoes. Mules should be shod (if working regularly on very hard surfaces), or trimmed, approximately every six to eight weeks according to use.
Next, begin to groom the body, starting on the left side at the head. Hold the currycomb in one hand, keeping the other hand on your animal to steady him. Gently curry in small circular strokes, working your way down and back, ending with the hind leg. Next brush vigorously, first with the hairbrush and then with the body brush. During springtime shedding, use your plastic bristle brush on the body to reach the dead hair in the undercoat before you use the shedding blade. Make sure that you apply only as much pressure as feels good to your equine (lighter pressure over bony areas). This should be an enjoyable experience for him.
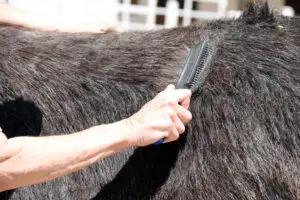 After grooming the left side, move to the right side. Brush the head with a Dandy brush and use a multi-bristled human hairbrush on the mane and tail. By adding a little Johnson’s Baby oil to the mane and tail during grooming, you can train a mane to fall to one side and keep other equines from chewing on manes and tails. Finish with a soft body brush. Finally, use the grooming cloth to wipe around the ears, face, eyes, nose, lips, sheath (if it’s a male) and the dock of the tail.
While paying this much attention to your mule’s body, you will be sure to see anything abnormal such as an abscess, a cut, mites or insects, or a sore. Early discovery and treatment keep problems small.
Besides routine grooming, your equine’s longer hairs can be trimmed as often as needed. Clip the long hairs from the head, the outsides of the ears, on the jaw and around the fetlocks for a neat and clean appearance.
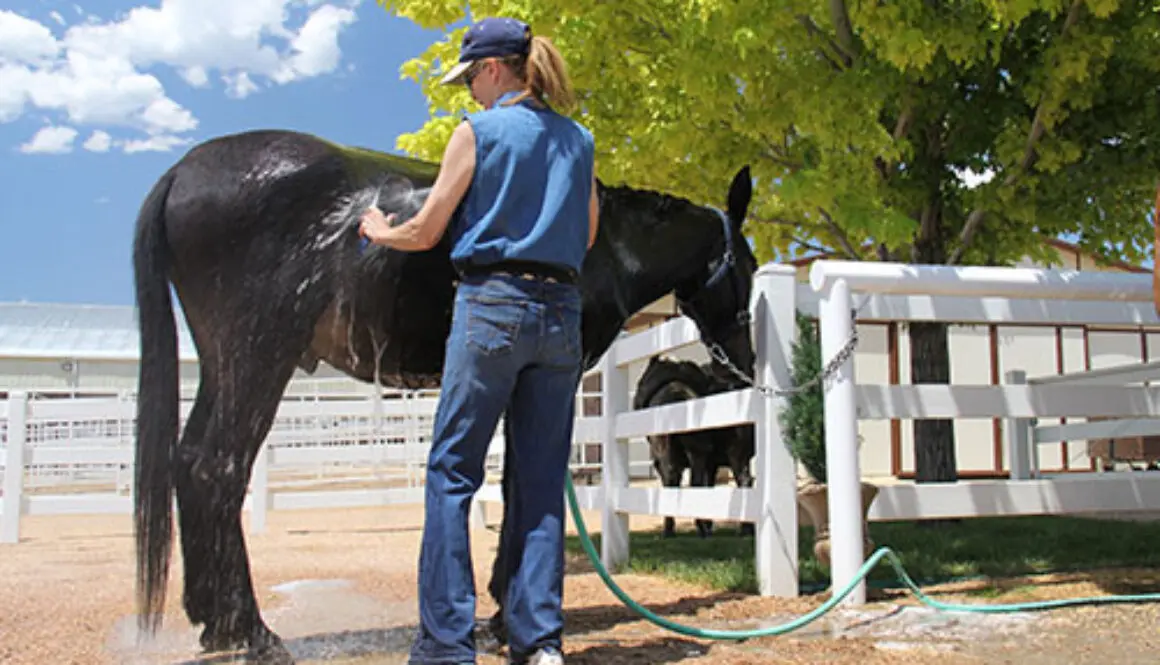
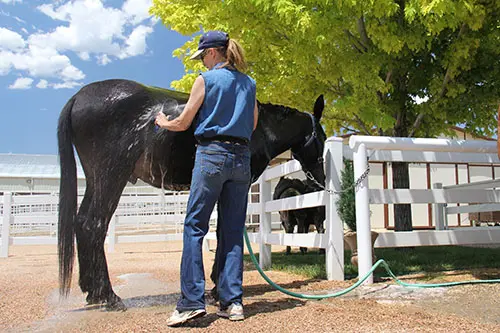
 Mules and donkeys like to be dusty, but they also like to be clean. Bathing every so often will make your Longears look and feel better. All equines enjoy having all that itchy sweat rinsed off after a good workout. I don’t recommend bathing too often with soap because an equine’s skin is sensitive. Soap can irritate it as well as strip away the essential oils. Most of the time, a good rinse, while scraping the excess water off with a shedding blade, will maintain a clean, healthy coat. Of course it’s essential to have a spotless animal if you’re off to a show or parade.
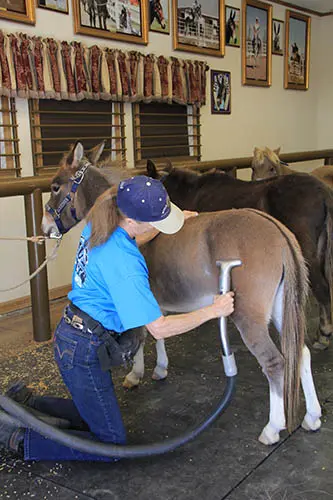
Once your mule has been bathed and is spotlessly clean before the show, all you need to do to prepare him for your class is a quick once-over with a vacuum. Vacuum training is like anything else—take your time, be polite in your approach and make sure your mule understands that this strange, noisy monster is not going to hurt him. Soon he will learn to enjoy being groomed by the vacuum. The vacuum will also promote better circulation to the muscle tissue.
BODY CLIPPING
If you plan to show your mule, you might consider body clipping. If you clip in mid-April or May, you will expedite shedding and the hair that grows in will be more manageable than the heavy winter hair. Equines that are not going to be shown should be left with their natural hair coat, as it insulates them from both cold and heat, and protects them from invasive insects. Mules and donkeys shed more slowly than horses and are not usually fully shed out until late summer.
 There’s a bonus to clipping a show mule or donkey—their hair won’t grow back as quickly as that of a horse. Just remember that clipped animals should be stabled and blanketed during cold weather. If you do blanket your mule, you must be ready to add or remove blankets and hoods as the weather changes each day. To keep the coat from growing back too quickly, it helps to have them under 16 hours of light (summertime light duration).
To body clip your mule, begin with a quick bath. Your clippers will last longer if your mule is clean. When he’s dry, use your rubber currycomb to bring any dirt and dead hair to the surface. Follow with a good brushing. If it’s too cold for a bath, use a vacuum to get him clean.
Begin clipping the legs and head, because these are usually the hardest areas to do. If he’s a little difficult, don’t hesitate to use the restraints you learned about in DVD #2. Use a twisted lead rope hobble to restrain the front legs, a scotch hobble for the rear legs, or a face tie for the head, but be sure to use them as described and don’t be punitive in your approach. Start with small clippers on the coronet band and fetlock, working your way up each leg.
 Do the body last with large animal clippers. Clip against the lay of the hair. Start at the rear and work your way forward, clipping first one side and then the other. Pay special attention to the flanks, the mane and the fuzzy areas under the belly and around the forearms and buttocks.
If your mule has a nice mane, leave it and clip a bridle path. The length of the mane and the bridle path will depend on trends in the event you are participating in. For example, in English riding, manes are kept shorter to make braiding easier, but if your event is reining, keep the mane as long as possible. I like to grow the manes as long as possible (they help to keep flies and insects at bay), give crew cuts through the bridle path to the males and leave a foretop and bridle path on the females.
If you’re packing, you might want to shave or trim the mane short for the sake of simplicity. Many people shave the foretop and bridle path with a #10 blade, and then trim the rest of the mane to half an inch. You may trim the outside edges and backs of the ears, but leave the inside hair to prevent irritation from flies and bugs.
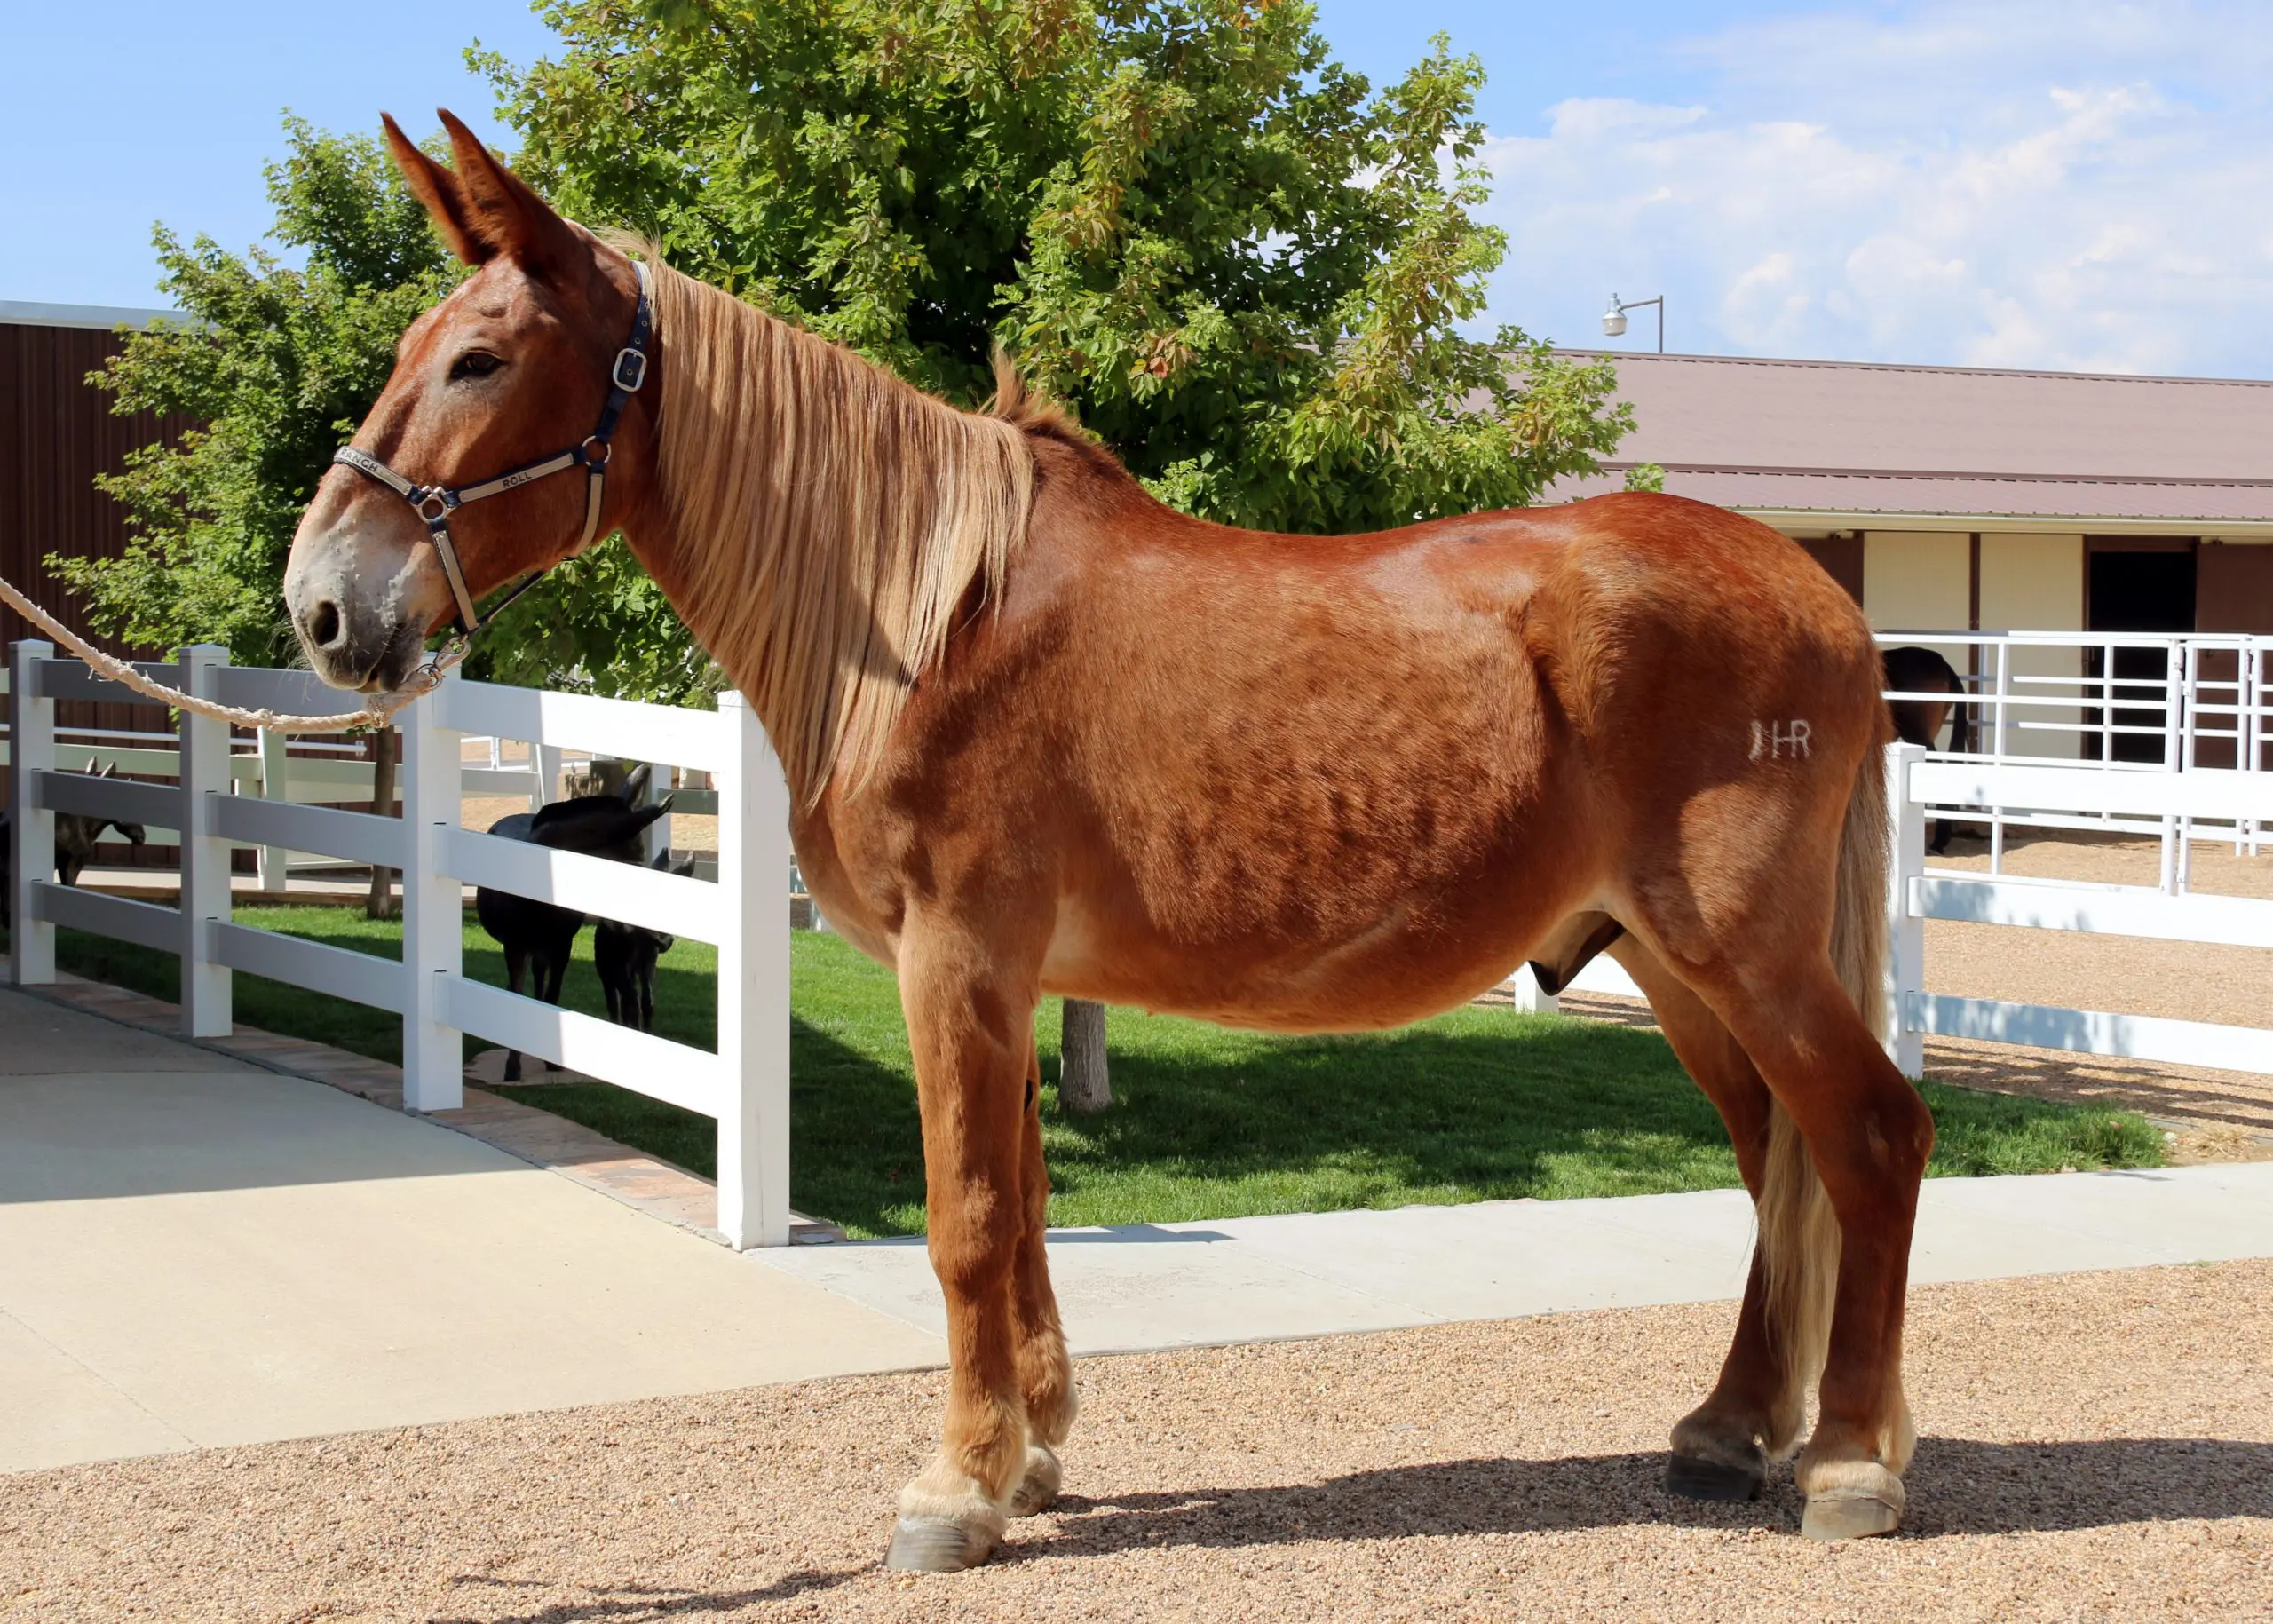 The tail is another area where there are many variations. I recommend applying Johnson’s Baby oil to the base during each grooming and letting the tail hair grow. This is a good idea if you compete in open events with horses. A second method is to shave the first two inches of the tail for a clean, well-groomed look (however, it does grow back even fuzzier!). A third variation is to “bell” the tail in three tiers. This looks best with a thick tail and is generally used for identification purposes by packers and the military, but is not recommended for normal grooming, as it is difficult to maintain.
Now you’re ready to trim the head. This will include trimming the bridle path, muzzle hairs, hair under the jaw, long hairs around the eyebrows and the backs and edges of the ears.
Lastly, remove chestnuts and ergots by soaking them with baby oil for about 30 minutes and peeling them off. If the ergots don’t peel off, you may cut them off with scissors or nippers.
Now you’ve got an equine that looks great! It will be easy to keep him looking good with a weekly trim that should include bridle path, ears, around the face and coronet bands.
BRAIDING FOR SHOW
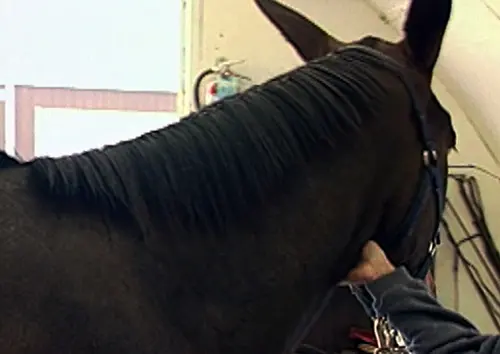 Depending on the event you plan to show in, treatment of the mane varies considerably. For Western pleasure, you may want to simply band the mane so it lies flat. The tiny rubber bands can be purchased in tack shops in colors to match your mule’s hair. Tradition dictates the braiding of the mane for hunters and English classes for a neat, clean appearance. A thick, heavy mane cannot be properly braided and must be thinned until all the hairs are about four to six inches long and lay flat on the neck. This is done by using a mane comb to pull out the long hairs from the underside of the mane. This can be a big job and it’s annoying to your equine, so limit mane pulling to a few minutes a day. Make sure the hair is the same length from poll to withers. Don’t even think about cutting it with scissors—it will just end up short but way too thick to braid.
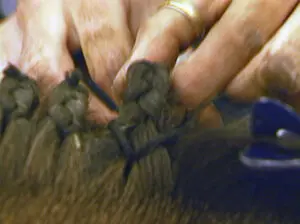 You can spritz a little water and hair spray to make the hair easier to handle. The quickest way to secure the braids is by using tiny rubber bands. It’s also very easy to do and it’s great for one-day shows or quick changes between classes.
Sewing with thread or weaving yarn looks very professional and is more permanent, but it’s also more time consuming.
 Once the braid is finished it should be folded once and fastened with either rubber bands or a piece of yarn or thread. It can also be rolled and tacked into place. How you finish your braid will depend upon the time you have and the look you want to achieve, as well as what looks good on your equine!
Braiding the tail begins with a clean, well-groomed tail. Even short hair can be braided if you use a lot of hair spray to make it sticky. Moisten all the hairs along the dock with a damp sponge and bring them forward. Take a section of hair from each side of the tail, as close to the top as possible, pulling the sections out from as far under as you can.
On a horse, you can pick up a third section from the middle of the tail, but on a mule’s thin tail, take the hair from the side. Cross it over one of the outer strands. Begin braiding with three strands down the center of the tail. With each twist of the braid, pick up a little more hair from either side or from the middle. Continue braiding until you reach the root of the tail, then don’t add any more hair, but braid until you reach the end.
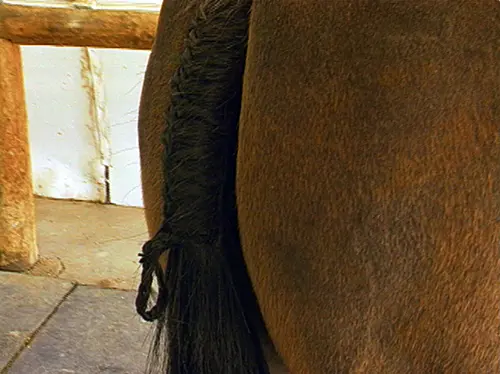 Fasten the end of the braid with a tiny rubber band or a piece of yarn. Now fold the braid once and pull the end up into the braided root, tying it at the base with yarn or thread.
In showmanship and halter classes, it goes without saying that your equine must be groomed to perfection. This means that, for months prior to the show, you’ve given your equine a good brushing or vacuuming at least once a week. Brushing stimulates the skin and brings out the natural oils that make the coat shine. No amount of “shine in a can” will replace the natural luster of an equine that’s been brushed regularly.
To learn more about Meredith Hodges and her comprehensive all-breed equine training program, visit LuckyThreeRanch.com, MEREDITH HODGES PUBLIC FIGURE Facebook page, or call 1-800-816-7566. Check out her children’s website at JasperTheMule.com. Also, find Meredith on Pinterest, Instagram, MeWe, YouTube and Twitter.
Covered in TRAINING MULES & DONKEY: A LOGICAL APPROACH TO TRAINING, TRAINING
WITHOUT RESISTANCE, EQUUS REVISITED and A GUIDE TO RAISING & SHOWING MULES at www.luckythreeranchstore.com.
© 2013, 2016, 2024 Lucky Three Ranch, Inc. All Rights Reserved.

 By Meredith Hodges
 The other thing to consider is whether or not they have been raised with the livestock they are expected to guard. When raised with the other livestock, they will feel more a part of that “family” and are less likely to do them harm. A donkey that is going to be expected to guard livestock, but was not raised with them, should be carefully introduced to them “over the fence” for several weeks. Then if all seems to go well, you can introduce them in the same pen and watch for any signs of aggression. If there are signs of aggression after a few weeks of being separated, then they probably will never really get along. You must remember that a donkey is NOT a predator, nor a prey animal that will necessarily get along with other livestock. Donkeys prefer to be in a herd with other donkeys. They do not like being alone either. Donkeys have a strong sense of “family” and prefer to be with their own kind. When forced to be with other species, they will blend, but grudgingly.
 As with all livestock, donkeys need to be provided with adequate shelter from the elements, whether heat or cold, must be provided trace mineral salt blocks and clean, fresh water. Their time on pasture will need to be monitored for optimum health which will often clash with the grazing needs of sheep, goats and other smaller livestock. Donkeys are desert animals and really easy keepers. It is not uncommon when they colic or founder on too much, or too rich, grass. They cannot be on pasture 24/7.
 vaccinations twice a year and regular worming. If they are not trained to accept these things, most veterinarians and farriers will be averse to handling them until they are. It takes time and patience to gain the trust of your donkey before you can actually consider him trained.

 Since miniature donkeys and mules are always at risk, I add another element of safety for them by lining their pens with metal grating over the stock panels. Then, everyone is also brought in every night and turned out for a limited amount of time during the day. This gives me the opportunity to monitor their diet, check for injuries twice a day and keep them safe overnight. All my equines are taught to come in from turnout upon request. They know there is always a crimped oats reward awaiting them.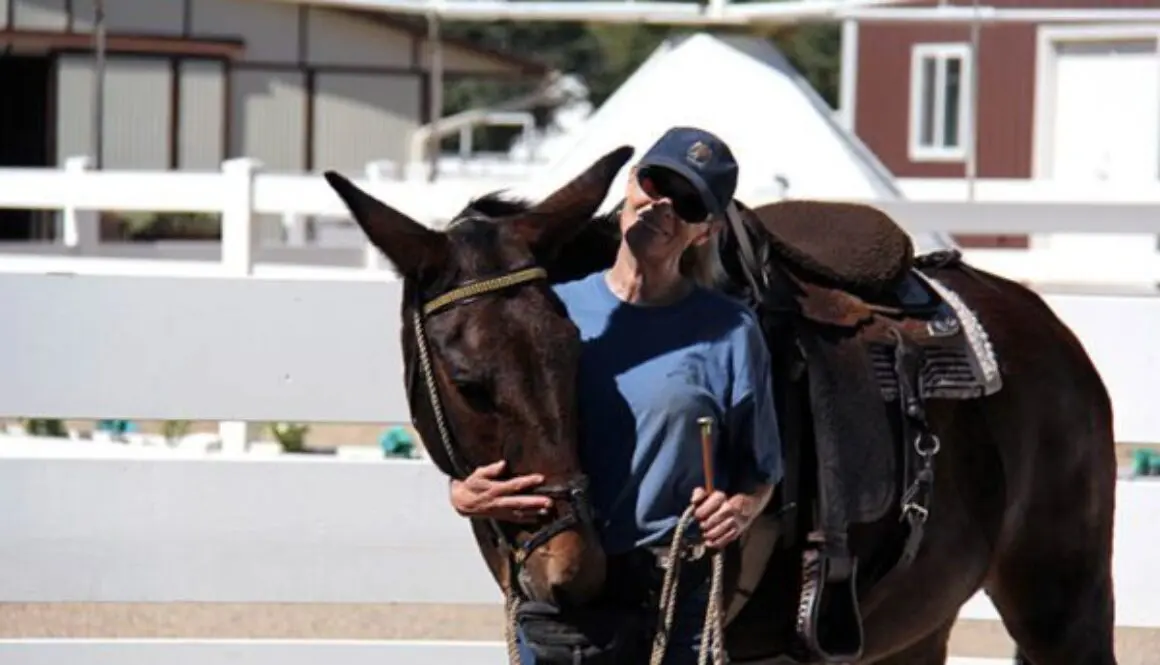
 Shaping behaviors takes reinforcement to the next level. Now you are working with the tendency of an animal to perform in the right way and guiding that performance toward your ultimate goal. This is called successive approximation. For example, if you are teaching a turn on the haunches on the lead line, you must first ask for one step forward. Then walk toward your animal’s shoulder and ask for the turn. In order to teach him to plant his rear pivot foot before the turn, the process must be broken down into smaller steps. First, ask for the step forward and reward him immediately when he complies. Then move on and ask for one step forward and one to the side, rewarding him again when he’s successful. Then ask for one step forward and two to the side and reward, and so forth.
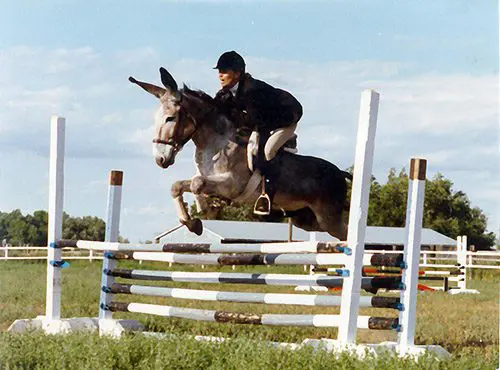
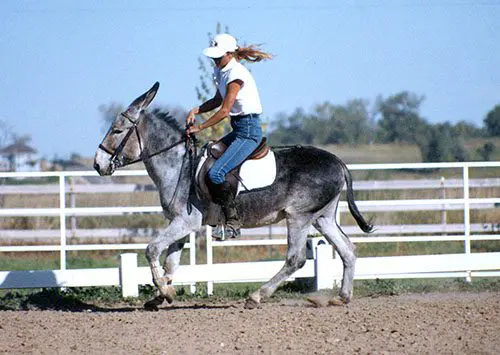 An example of shaping a behavior by breaking it down into a string of very small steps is how I taught my donkey, Little Jack Hornerto canter. Although many people tried to tell me that donkeys don’t canter, I had seen donkeys canter when they ran free, so I knew it was possible. First, I set the goal of cantering a circle. No one could run ahead of my donkey fast enough to reward him with oats and negative reinforcement such as the crop didn’t work well at all, so I had to find another kind of reinforcement. Using the pleasure principle of finding the best motivation for an action, I put my cycling broodmares into a pen at one end of our hayfield and I took my jack to the other end. When asked to canter toward those mares, he did so eagerly. He first learned to canter in a straight line. I reinforced the action verbally with, “Good, good,” while we cantered, and then I gave him a food reward once we reached the pen.
 The next time I did the same thing, but this time I turned my donkey in a large half-circle route to the pen, and I rewarded him again the same way. The third time, I asked for a little more of a circle and I got it. Several times later, I was able to get an entire circle before we ran the line to the pen with the mares in it. Once my donkey learned that he could canter easily with me on his back, I didn’t need the mares anymore.
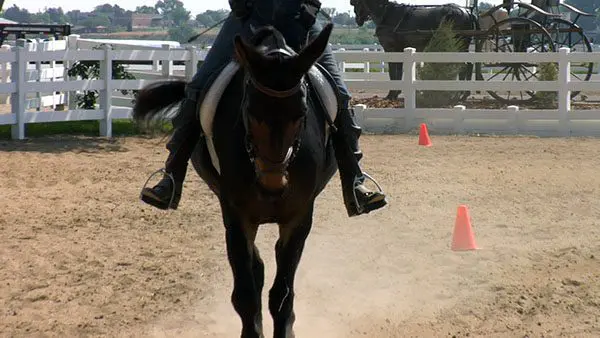
 to trot, I would finish the circle, stop him and praise him with the food reward. It was slow going the first few tries, until I started counting strides and realized the jack was adding one more stride at canter with each attempt. Before long, he was cantering the full circle with ease on command.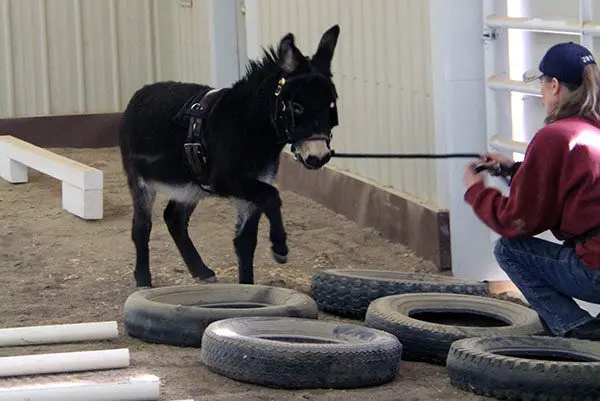
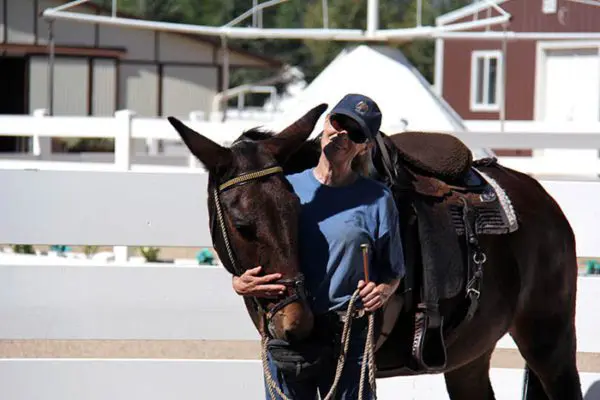
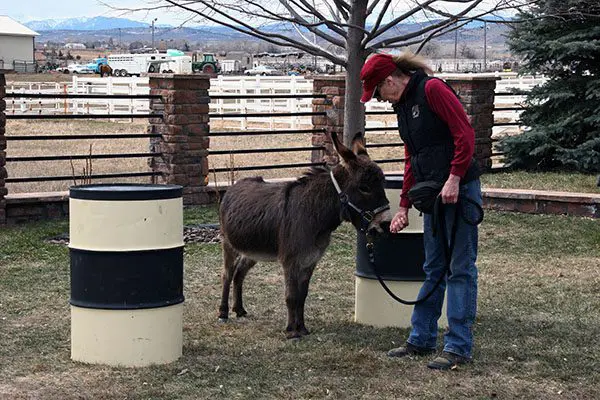
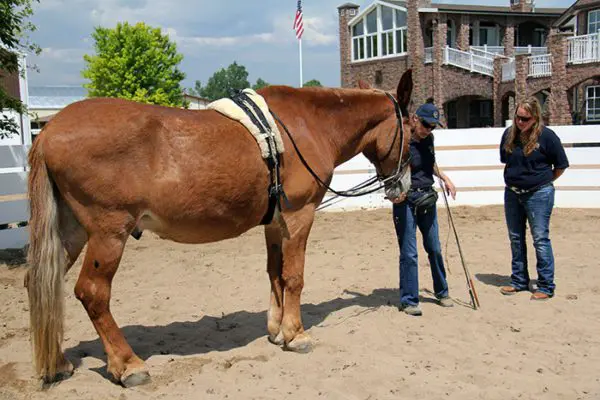
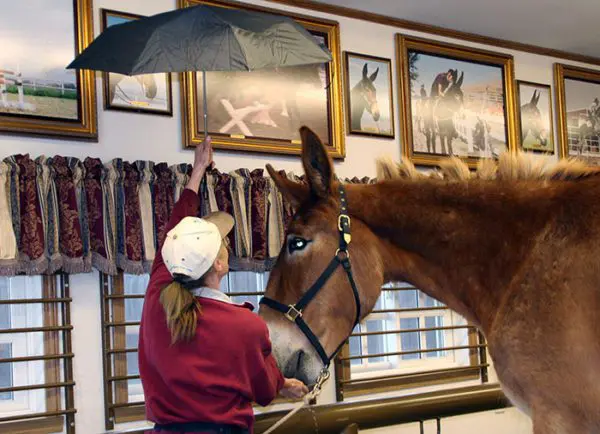 As you begin to understand the principles of shaping and modifying behaviors, it is important to realize that it is a lot like dancing, cooking or any other learned skill—the only way forward is with practice. The more you practice, the better trainer you will become. You have the opportunity to practice positive reinforcement every moment of your life, reinforcing behaviors in everyone—the cat, the dog, your husband or wife, your children. It becomes a game of noticing and praising positive accomplishments while setting clear boundaries to all behaviors, large or small. With practice, you will increase your awareness and, thus, your skill. The success or failure of your efforts to shape behavior in any animal does not depend upon your expertise, but on your patience, respect, consideration and consistency during the process. This may not be the easiest way, but it is extremely effective—and it’s fun!
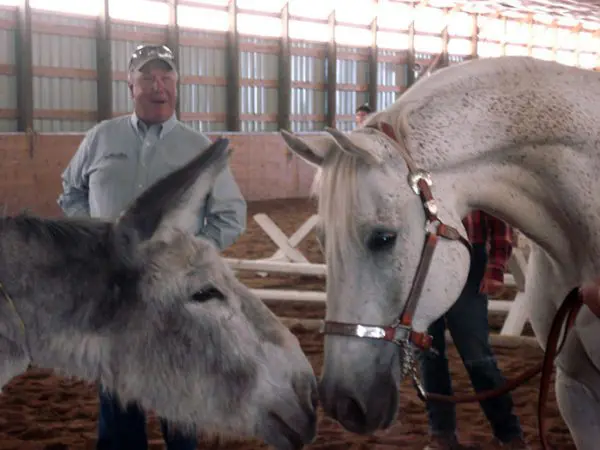 Just like humans, all equines have different personalities. They’re not cookie cutters and should not all be treated the same way, so observe your equine whenever possible and see what he naturally likes to do, and then adjust your training program accordingly. Although each animal must go through the same kind of basic training to make sure he is building good core muscle strength in balance and good posture, he will have his own way of learning, so your presentation of the tasks may differ from one animal to the next. When you have multiple animals, treat each one of them like he’s your favorite.
 First, let’s look at conformation. It goes without saying that your equine should appear wellbalanced and in good proportion, with flat knees and smooth joints. He should be free of unsoundness. There are published standards on most breeds, or you can pick up a good 4-H manual or a judging manual to give you an idea of what the ideal is for each breed with regard to conformation
 Begin with a six-foot piece of baling twine or string. The first measurement is from the poll to the middle of the withers. Then measure from the middle of the withers to the loin at the base of the rump. If these measurements are the same, you have a balanced animal that will be able to perform with more ease. If the neck is slightly longer, he will still be athletic because the head and neck are used for balance. But if the neck measurement is shorter, it will be difficult for your equine to balance through certain movements and transitions during all activities.
 Now measure the top of the neck from poll to withers and the bottom of the neck from throatlatch to chest. The top line should be 1.5times that of the bottom, enabling your animal to perform nice, soft movements during all activities. A “u-necked”animal cannot bend properly and will never be able to achieve good collection in balance and good posture. His neck and back will be hollow, making it difficult for him to efficiently carry a rider, which can result in future soundness problems.
 Next, measure the equine’s legs from the elbow to the coronet band, and then from the stifle to the coronet band. Both measurements will be the same in an evenly
 Ideally, your prospect should also be graced with 45-degreeangles at shoulder and hip,and with the same angle at his pasterns. This ideal angle will result in softer gaits and transitions, whereas a straighter hip and shoulder will result in abrupt transitions and a rougher ride. The higher the angle (90+ degrees), the longer the stride will be; and the shorter the angle (90- degrees), the shorter and quicker the stride.
 Now let’s see how your prospect moves. Stick a piece of masking tape at the point of his hip as a visual reference point. Ask someone to assist you by trotting your equine on a lead as you watch the way he moves. Does his hock reach underneath and pass in front of the tape? If it does, his hindquarters will support strenuous athletic movements, his transitions will be more fluid and smoother, and his head and neck will stay level. If his hock does not reach underneath him sufficiently, he will be out of balance and must raise his head and neck through transitions.
 hoof? If he is exact, he is graced with the smooth, fluid way of going of a world-class pleasure animal. If he over-reaches the track, he has wonderful hindquarter engagement and you may have a candidate for Reining,Dressageor jumping. If he under-reaches the track, he is out of balance, causing him to raise his headand neck. He will have difficultythrough transitions and movements, which will undoubtedly make him unsuitable for advanced athletic activities.
 There are some practical tests you can do to help you assess an animal’s trainability. First, ask the person assisting you to hold your equine’s lead rope while you pick up a handful of sand, and then trickle the sand through your fingers near your animal’s head. Does he turn and look at you? If so, this is a good indication that he is interested in what you’re doing, which usually means he will be more trainable than an animal that ignores you.
 Now stand at your animal’s shoulder and gently put your hand over his nose, and then ask him—with a gentle squeeze and release action from your fingers—to bend his head and neck toward you. Do this on both sides. Does he bring his nose around easily or do you feel resistance? If he gives easily, it is a good indication that he is submissive and will be willing to learn more quickly.
 When you go through the basic exercises on the lead line and in the drivelines, there may be times when you experience resistance from your equine. Think of your animal’s resistance as a red flag that could be telling you that you either need to reassess your approach and consider a different path to the same end, or that you may simply need to break a current action down into smaller and more understandable steps. Don’t get caught up in the blame game (“It’s his fault, not mine.”) and lose your temper just because things aren’t going the way you expected. If, instead, you adopt the attitude that your equine is trying to communicate with you and that, when you meet with resistance, it is your responsibility to change what you are doing, you can avoid a lot of frustration during training and things will go more smoothly between the two of you.
 Keep in mind that, regardless of conformation and trainability, when you do the right kinds of exercises toward good posture and balance in their correct order—and with adequate time spent at each stage—and adjust your approach to the training of each individual, the result will be that your equine will feel much more comfortable. He will recognize your efforts on his behalf and, as he progresses, training will come more easily for both of you.